Spring garden, anyone? We just finished our garden plan for the year and are SO excited!
In this post, we are going to share:
- why we love planting a Spring garden
- how to make a garden plan
- where we got our seeds
- what to plant in a Spring garden
- how to start a compost pile
This post contains affiliate links, which means I make a small commission at no extra cost to you. See my full disclosure here.
Why we love planting a Spring garden
I can’t think of a better year to start a garden! Although I don’t know what the future holds, I know the more food we grow – the better! We are hoping to have an abundance this year to have extra for canning and to give to friends and family.
Having a garden has been so beneficial for our family. We learn so much from it! There are so many great ways to teach simple principles to your children through gardening. We teach them that this is how food is supposed to be grown, and that this is how God created it to be. The more we can eat from the ground, the better!
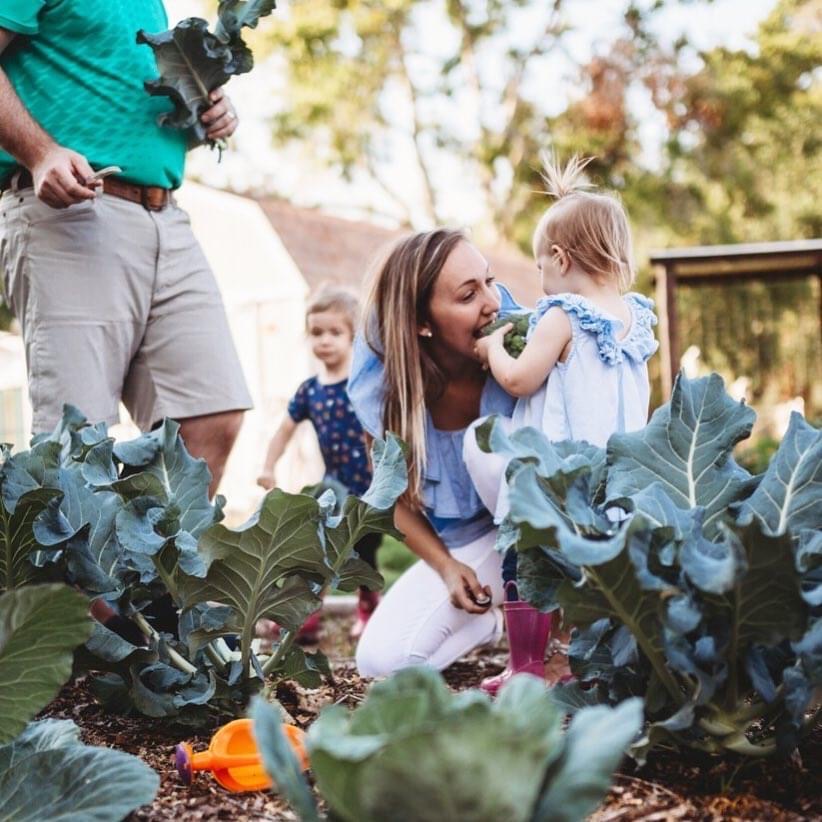
And of course it’s delicious, that’s another plus! It’s actually helped our girls love veggies. There’s definitely something to be said about eating something that you grew. They’ll go out to the garden for a “snack” and just pick whatever they want. We love it.
How to make a Spring garden plan
- Measure your growing area. We have eight raised beds, they are four feet wide by sixteen feet long. After you’ve measured, draw your measurements on graph paper. Drawing to scale will help you know how many plants you’ll be able to put in your growing area.
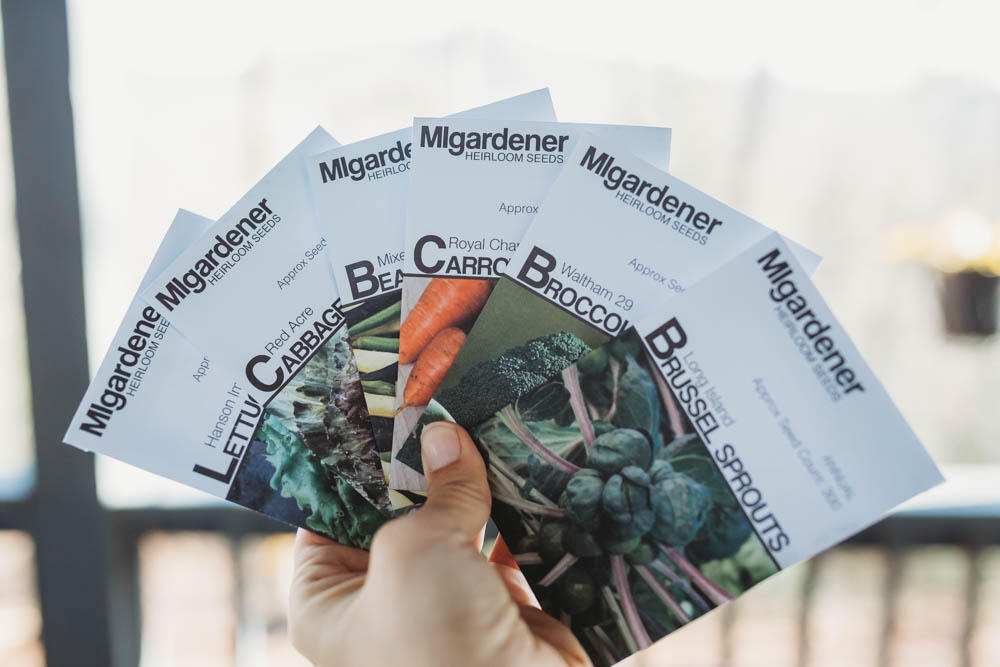
- Gather your seeds. Next, We gathered the seeds we had, added new ones, then sat down to figure out which grow bed they would go in. This may take some research, and I’ve heard seeds may be hard to find year – so don’t wait! We ordered our heirloom seeds from MIgardener this year. I have heard good things about True Leaf Market and it looks like they still have a good bit of stock.
- Figure out how many seeds you want to plant per vegetable, then write down on your graph paper where those plants will go. The back of the seed packet will tell you how far apart the seeds need to be spaced in the garden.
- Write down when to plant. This can be found on the back of the seed packet. It will also tell you if the seed requires starting indoors, or if it can be planted straight in the ground. Make a list of the upcoming months and what you’ll be planting each month. Keep this in a visible spot so you remember when to start your seeds!
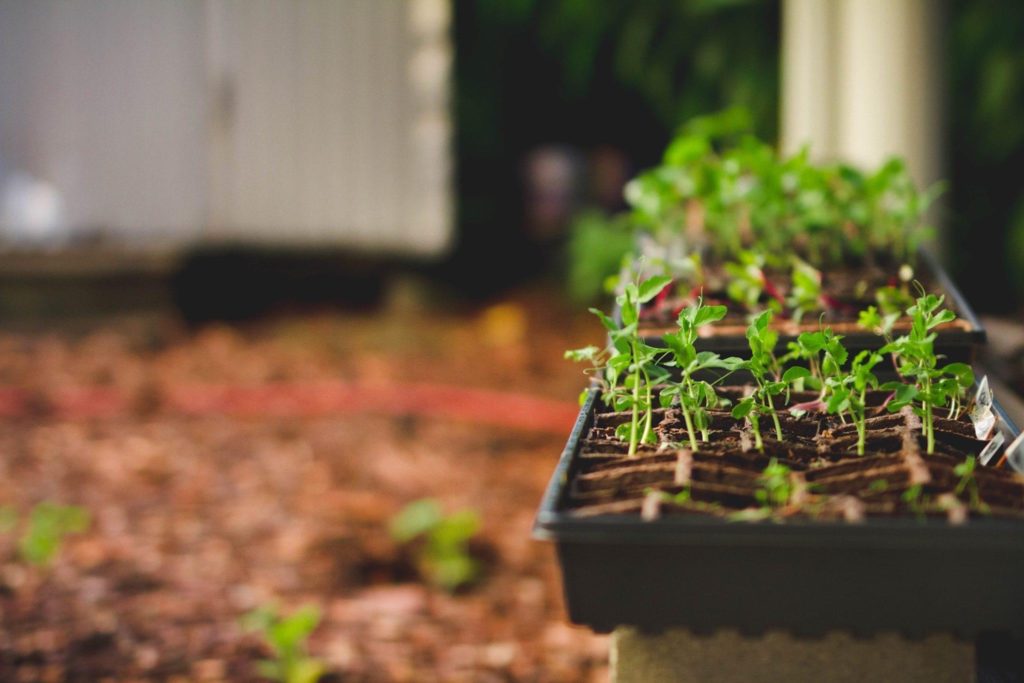
- Get all the things. Find something to start seeds in if you’re starting indoors. Small cups or seed trays are both great options. Set your seeds next to a south facing window. Unfortunately we don’t have one of those, so we are using a grow light in our laundry room on a shelf. Get some potting soil and you are ready to grow!
What to plant in a Spring garden
It’s important to remember that where you live matters! We are in Western NC, so what works for us may not be the best for your area. Do some research to find out what grows well in your area and you’ll have a better idea of what to plant in your Spring garden. Burpee has a growing zone finder that will help you decide which plants to choose.
Here’s what we are going to plant in our Spring garden:
- yellow bell pepper
- brussel sprouts
- red cabbage
- brocolli
- kale
- collards
- lettuce (crisphead)
- turnips
- carrots
- potatoes
- onions
- garlic
- celery
- golden sweet peas
- mixed green bean
- corn
- yard long beans
How to start a hot compost for your Spring garden
One way to expand your gardening experience throughout the year is to have an ongoing compost pile. Composting is an essential benefit to any garden. It provides beneficial nutrients, microbes, and moisture retention to your vegetable garden or raised beds.
To start, find a place close to your garden that will give you enough space for a compost pile (approximately three feet by three feet). No ground clearing is needed.
Brown and green layers
Compost piles are composed of brown (carbon) and green (nitrogen) layers. A brown layer can be cardboard, leaves, paper, hay or straw. A green layer is anything nitrogen based, such as vegetable scraps, coffee grounds, or grass clippings. The easiest things to use that almost everyone has would be leaves (brown layer) and grass clippings (green layer).
Start by placing a brown layer on the ground first, approximately 3-6 inches deep. Then add your green layer on top, about 3-4 inches deep. These measurement do not have to be exact. Then begin to stack brown layer upon green layer repeatedly until it is about three feet tall.
Hydrating your compost
You may not be able to do this all at once, but as long as you are adding to the pile on a consistent basis, the process will work. When you add your first brown and green layer, have a watering can or water hose close by to make sure that the layers are nice and moist (consistency of a damp sponge).
Monitor the temperature
The green and brown layers work together to create microbe activity. This will create heat. A good compost pile will stay between 115 and 140 degrees in the center of the pile. A compost pile thermometer can monitor the temperature. A monitor is not required, but they do help when starting your first compost pile.
Within three days, you should notice heat coming from the middle of the pile. You can dig down into the pile and it should feel very warm. Within 2-3 more days, the pile should seem to cool. Once it begins to cool, it’s time to turn the pile.
Turning the pile
Turning the pile requires either a shovel or pitchfork. Simply start at the top of the pile and shovel the material to a location right beside your pile. Take what is on top and put it on the bottom until what was on the bottom of the pile is on top.
The process of turning the pile reactivates the brown and green mixture as well as allowing the microbes to reheat the pile. Rehydrate the pile with water every 6-12 inches as you are turning it. Again to a consistency of a wet sponge.
Continue this process
Continue this process until you have a crumbly, brown soil substance that is no longer putting off heat. At this point, your compost is ready to use in the garden. Depending on what is in the compost pile, this process can take 18-20 days to 3 months to complete. You’ll know it’s ready when your compost is dark, crumbly and cool to the touch.
My husband’s favorite compost bin is the Geobin. He loves It because it takes all the guess work out of constructing a bin, and it’s affordable. It is fully aerated because of the perforation throughout the entire bin. This allows oxygen into every layer of your pile, accelerating the composting process.
Compost helps keep your Spring garden healthy
Composting is not necessary for a successful garden, but it replaces lost nutrients that your plants desperately need throughout the growing season. An ongoing compost pile helps your garden by increasing water retention and creating the microbial life in your garden bed that is essential for healthy growth.
Here is a great video on how to make compost from grass clippings:
Time to plant!
To summarize – get some seeds, make a garden plan, get a few things to start your seeds, start a compost pile (if you want), and get to planting!
What are YOU planting this year?
I can’t wait to see everyone’s garden this year. We are a bit giddy over here. We would love to know what you are planting this year. In the comments below, tell us where you are from and what crops you’re growing this year. Also let us know if you are just starting out with gardening or if you have you been doing it for a while. Can’t wait to hear from you!
I can’t wait to get mine started! I really need to start some seeds. I’m falling behind.
You have plenty of time! Just get those seeds ordered soon 🙂
I’m new to gardening and the information in this post was wonderful. Super helpful! Not to mention the pictures are beautiful.
Thank you, Sarah! I’m so glad the info was helpful for you!
Greer posted just In time to plan for spring
This is so super helpful… and inspiring. It’s making me think it’s time to get on organizing our garden for this year! I’m jealous of all your garden space though! We have 8 beds (4×4), and plan to expand this year. It’s so much effort though. Our dirt is basically clay, so it’s a long process to get our soil working well (and that’s even with composting and purchasing dirt to bring in). 😅 Anyway, your garden looks amazing. I’m gonna go do some planning now. 😂
Ours is clay here too so I get it! We moved into our house in the Fall and the garden beds were already here so we got lucky! Hope your planning goes well, you got this!
Hello! We recently moved into our farmhouse in east Tennessee. It will be our first spring here. We have a lot of work cut out for us to start preparing for our garden but I’m looking forward to it. You’re post gave me some encouragement on where to begin!
I’m so glad it encouraged you! Good luck with your garden this year!
How wonderful! I’m in upstate NY, but just starting to think about my garden for this year. Our “Spring” usually doesn’t roll around until late May or early June. 😉
Never too early to start thinking about it! Good luck with your garden!
This is a great tutorial for those starting out. I’m in Washington State and I love to grow all kinds of berries, especially blueberries. We also grow a lot of green beans, cucumbers and zucchini.
Thank you Kristin! Good luck with your garden this year!
What a great post! We are just starting to plan our spring garden too – and now I have a ton of ideas!
Yay! I can’t wait for Spring!